1 Layout preparation & import
Add placeholders to your layout
Add image placeholder
Requirements
- The placeholder text must be located in a single text frame (not linked with any other)
- The frame can have any proportions
- You can choose any text you like (a-z, 0-9, _-)
- The placeholder text including tags must be the only content of the text frame (be careful with spaces)
- If you want to use Autolink you can add @ to identify the placeholder as image, e.g. <<@image>> (for using Autolink you also have to make sure that the label of the placeholder and the title of your datasource colum must match (in the example above, the datasource column title must be “image”)
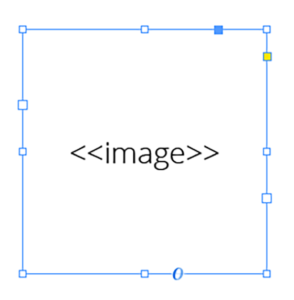
Note: The position/alignment of the text inside the frame is not taken into account. You can control the alignment and fitting in the configuration.
Add text placeholder
Requirements
- The placeholder text can be located in any text frame, along any other text
- You can choose any text you like (a-z, 0-9, _-)
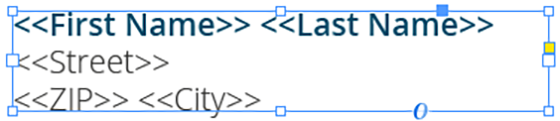
Make sure that even the longest text from your datasource will have enough room in the text frame provided, or overset text will be produced.
2 MyDataMerge configuration
Editing text placeholders
Setup text placeholders
A text placeholder will inject text from various sources into your layout in the merge process.
These sources can be one or a combination of:
- Datasource content (Changes for each record)
- Static text (Always the same)
- Sequence (Different types of counting numbers)
- Automator workflow (for editing outside of MyDataMerge – learn more here)
- Custom (java-)script (learn more here)
To add an element, open the placeholder by double clicking it (or click the pen icon), then add an element by clicking the plus icon:
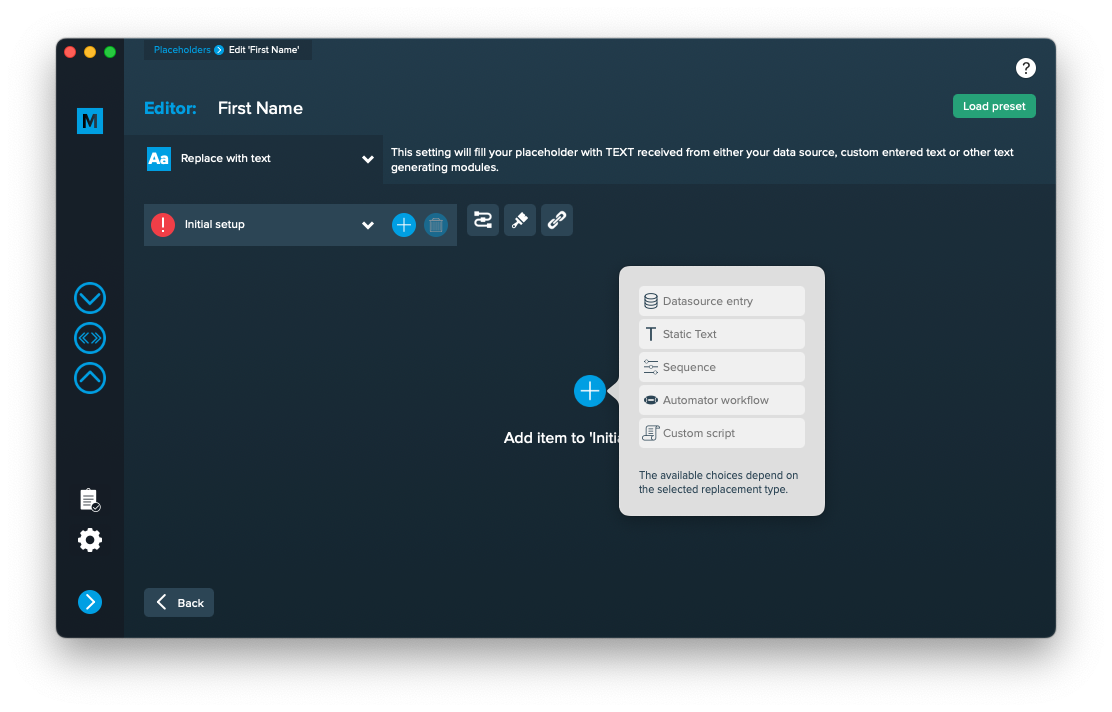
Add the element and the appropriate editor will open (e.g. datasource element):
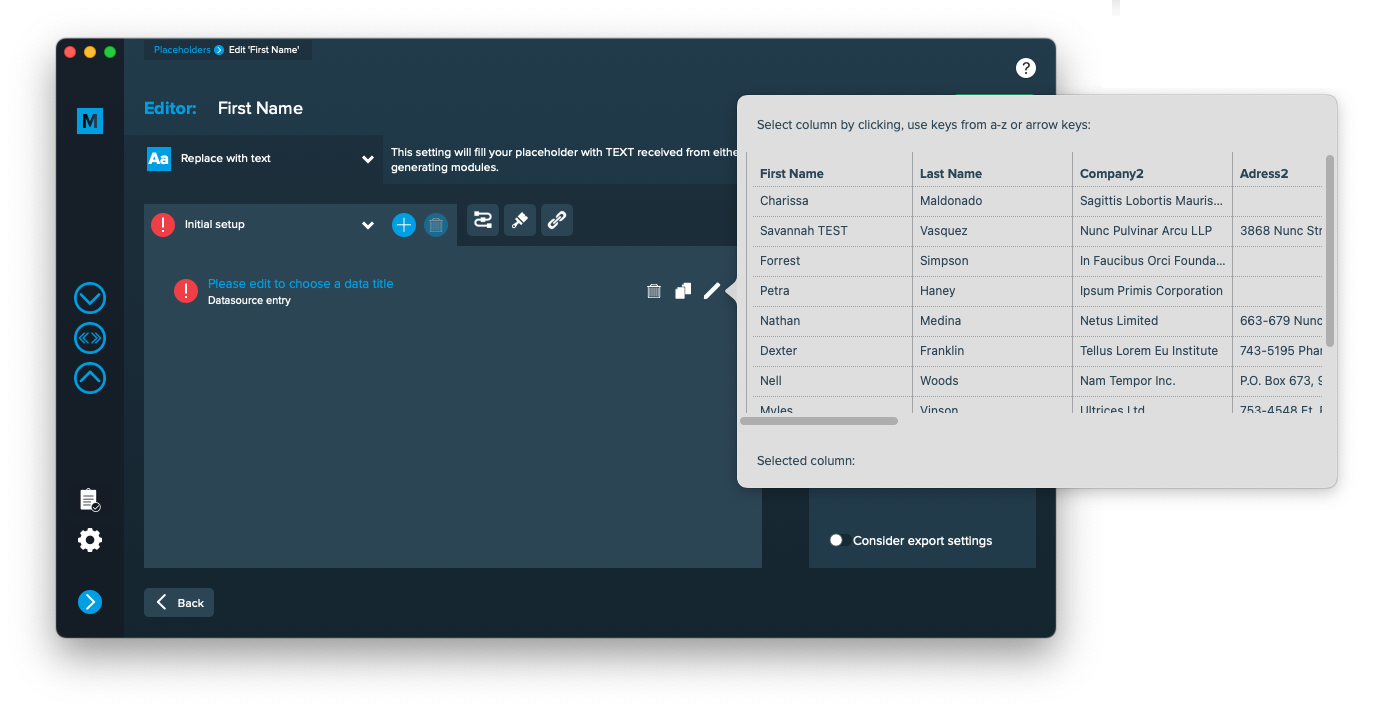 Once you selected or entered the required data, the element becomes valid (green check)

Once every placeholder is valid, you are able to export.
Notes:
- You can combine different elements here by adding them (plus icon above the eye icon) and drag & drop them up or down. The result will always be shown in the preview on the right.
- Additionally every element has some settings (gear icon) which will provide a wide range of tools to transform your data (e.g. strip whitespaces, add space before or after and so on)
Editing image placeholders
Setup image placeholders
An image placeholder will inject images based on file paths from various sources into your layout in the merge process.
These sources can be one or a combination of:
- Datasource content (Changes for each record)
- Static text (Always the same)
- Sequence (Different types of counting numbers)
- Automator workflow (for editing outside of MyDataMerge – learn more here)
- Custom (java-)script (learn more here)
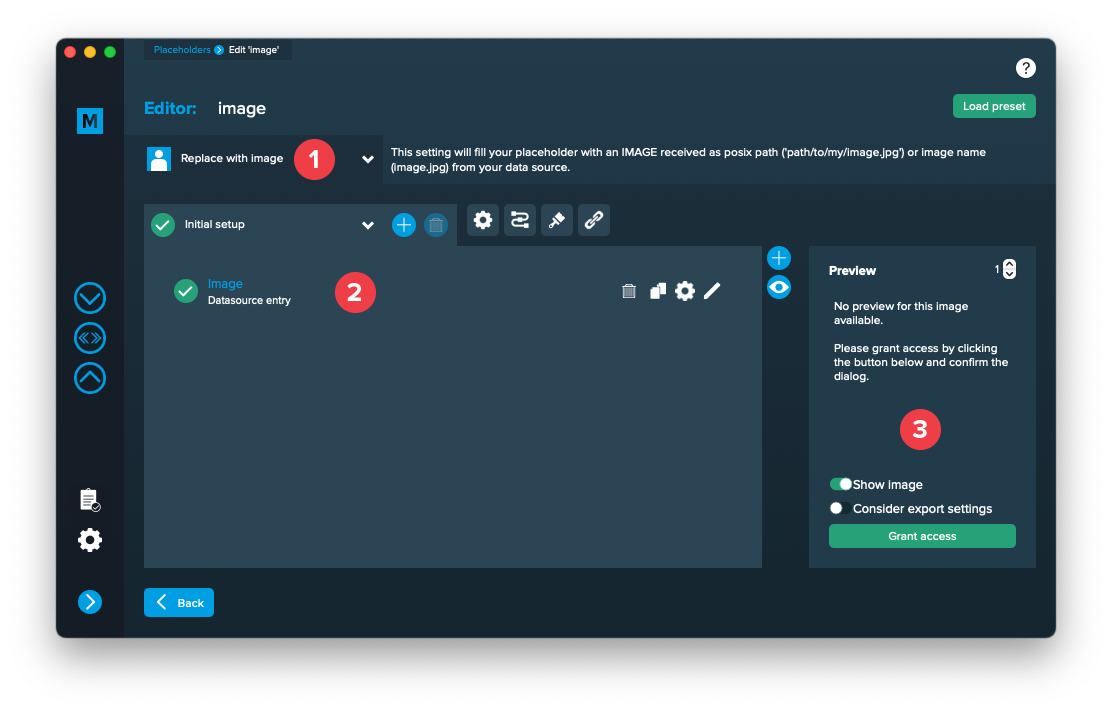
Open the placeholder by double clicking it (or click the pen icon), then the editor will open. First of all, make sure that “Replace with image” is selected [1]. Then add one or more elements to get file paths to your images. In the below example [2] a datasource element is added, where column “Image” is selected (as this column contains paths to the image files). If the element is valid (green check) and a valid image path is given, you will see a preview on the right [3]. If the preview doesn’t appear, you might need to grant access to the image folder for MyDataMerge – click the “Grant access” button in this case. By deactivating the switch “Show image”, MyDataMerge will output the file path in the preview instead.
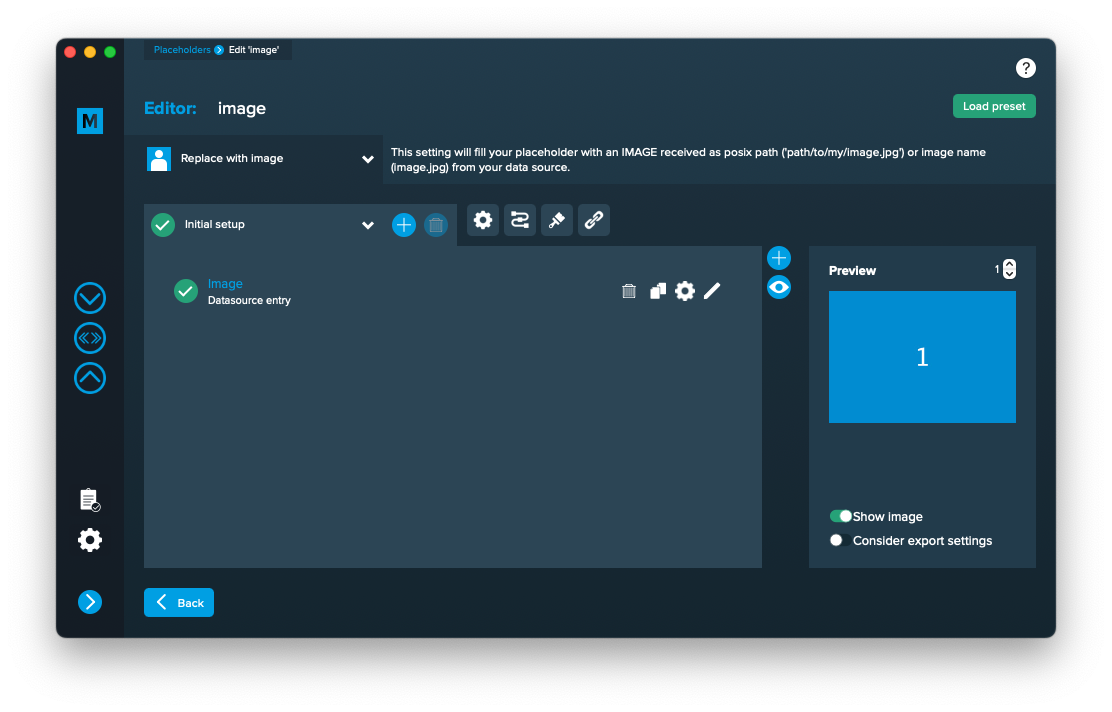
After access is granted, you will see the image appear in the preview on the right:
3 Export
Filetypes
CSV export
With CSV selected in Export > Filetype, MyDataMerge will export a Adobe® Indesign®’s data merge compatible CSV file. Use this option if you don’t want to merge with MyDataMerge but want to use MyDataMerges ability to customise the data.
Please note: Both CSV options …
- CSV (export only) – Exports a CSV file
- CSV (export and link) – Exports a CSV file and links it with your data in InDesign so you can continue with the data merge there
… cannot handle MyDataMerge specific actions like:
- Applying styles
- Applying the last action if a setup fails
- Applying GREP actions
- Applying Hyperlinks
- Use Automator workflows after export
If you need any of these please use MyDataMerge for merging your data.