1 Layout preparation & import
Add placeholders to your layout
Add text placeholder
Requirements
- The placeholder text can be located in any text frame, along any other text
- You can choose any text you like (a-z, 0-9, _-)
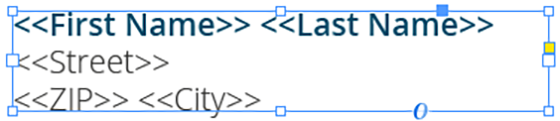
Make sure that even the longest text from your datasource will have enough room in the text frame provided, or overset text will be produced.
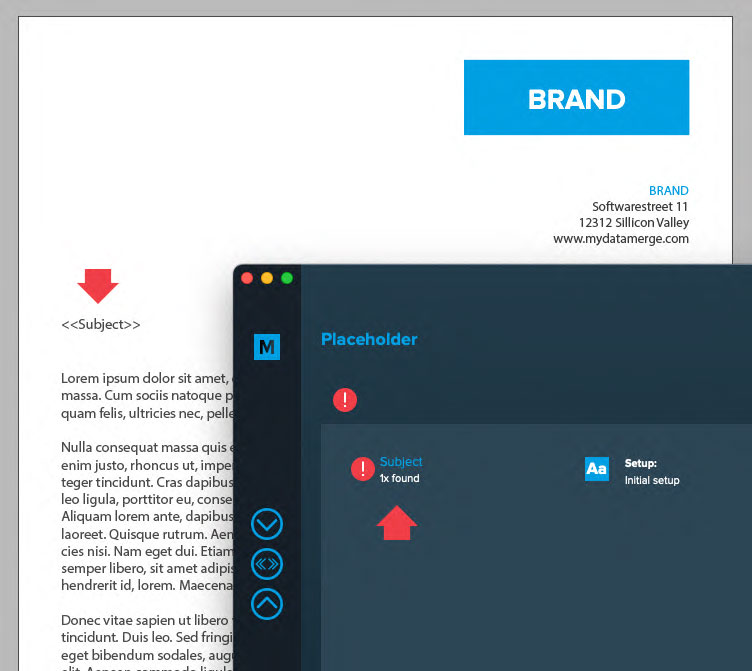
2 MyDataMerge configuration
Configurations
What are setups and why do i need them?
Once you open a placeholders editor you will see that you can select a replacement type to show MyDataMerge what kind of data you want to inject [1] to that placeholder and you can select a setup [2]. Initially there’s a setup called “Initial setup” you can work with. But you can add as many others as you like.
![]()
In the center area (“Add item to ‘Initial setup'”) you can configure the output to be injected in the merge process dynamically. Each setup can have custom style settings (brush icon) and a custom hyperlink setting (chain icon).
By default, only the selected setup is used for the merge process. But setups become really powerful once you add them in a row (if first fails use second then third …) (path icon) or use them based on conditions (“If ‘First Name’ is ‘John’ then use this, otherwise use that).
Add multiple setups
For every placeholder you can add more than one setup.
If you have a well formed database with no missing data, usually one setup is enough. More than one setup will come in handy in situations where this isn’t the case or where you want to apply different styles.
Example:
You have a subject line in a letter where you want to output a salutation and last name e.g. “Dear Forrest” where “Forrest” is the first name and comes from the database and “Dear” is a static text. You can do this easily with a simple setup of your placeholder:
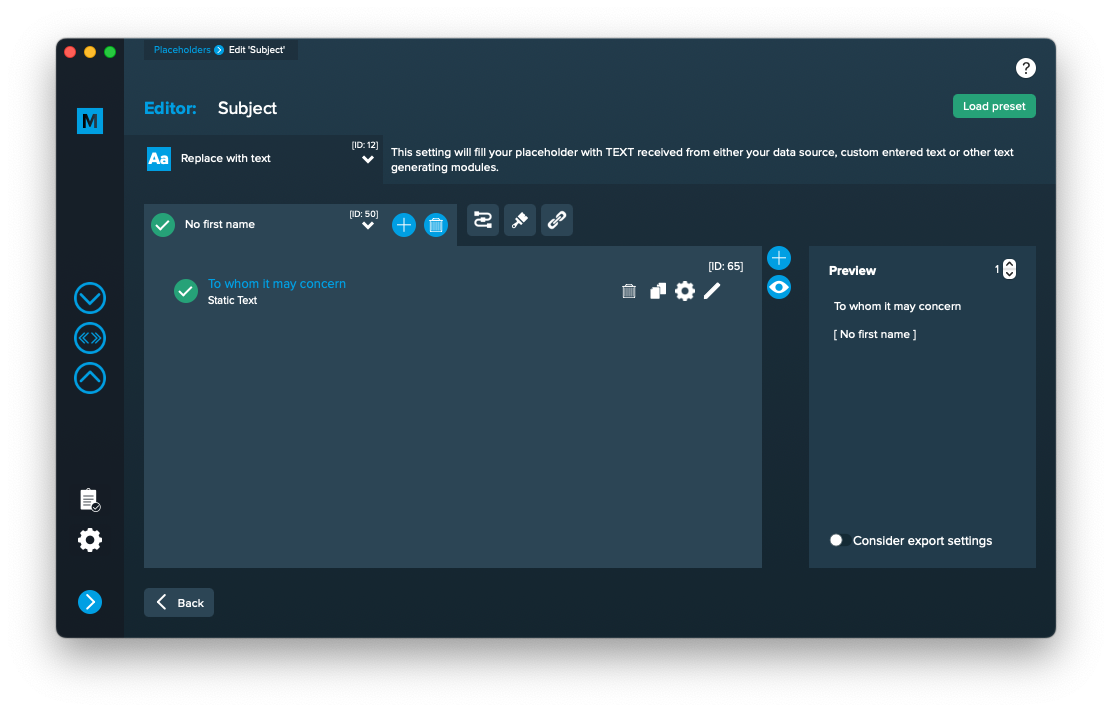
In the below image you can see the setup to output “Dear [First Name]”, a static text for “Dear ” [1] and a dynamic datasource element for the first name [2]. The output can be checked in the preview [3]: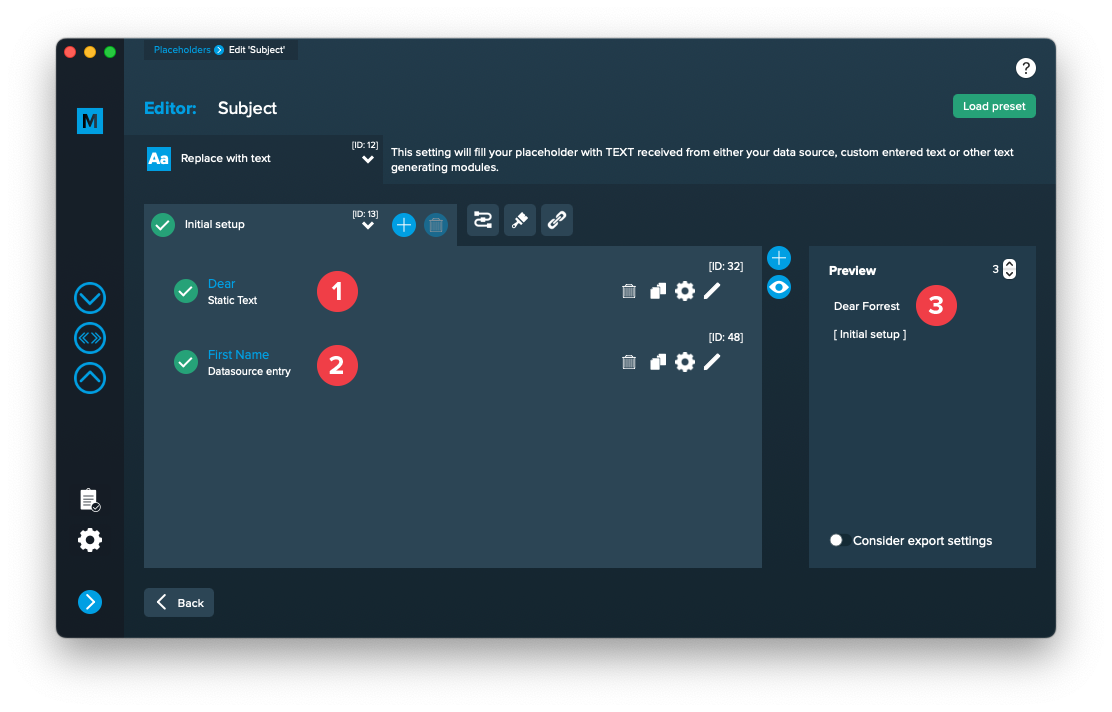
Now imagine you don’t have a first name, then you’d like to output “To whom it may concern” which you can do with a second setup. So we add another setup here and give it an appropriate name [1]:

Then we configure it to output the static text “To whom it may concern”.
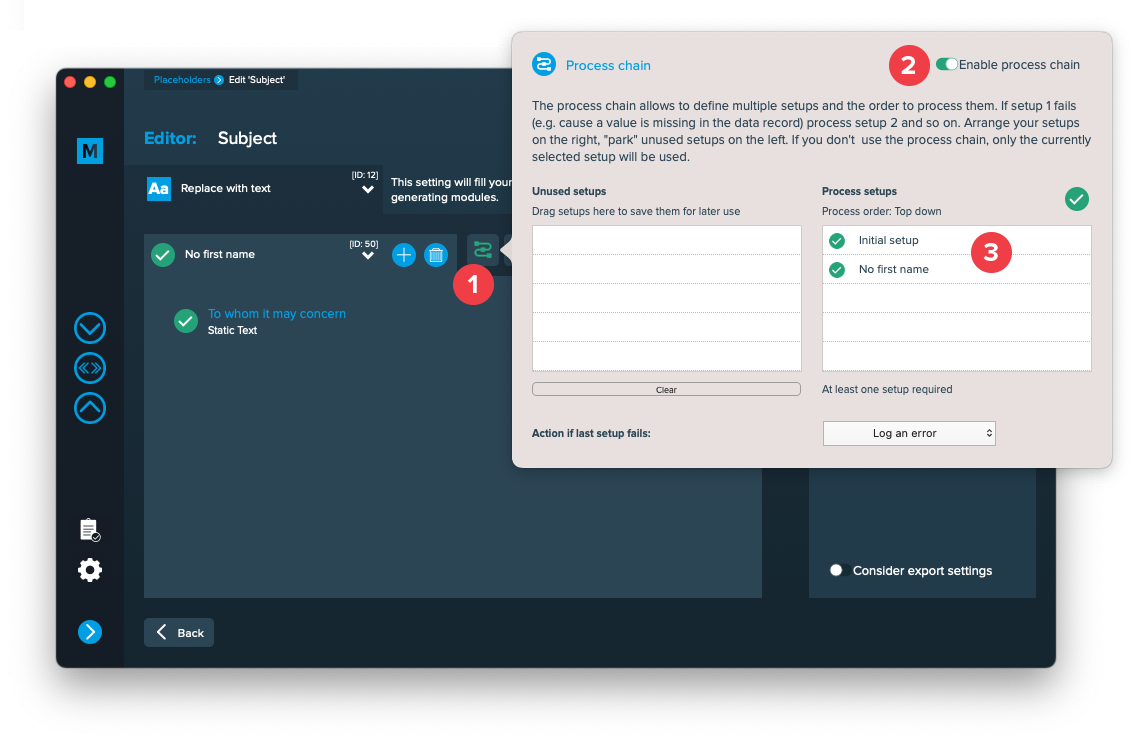
Right now, MyDataMerge would output “To whom it may concern” for every data record, because it’s the currently selected setup. To allow multiple setups to be processed you need to enable the process chain [1 + 2] as shown in the image below. Then all setups in the right table [3] will be processed from top down. If first setup fails (e.g. because first name is missing) then use second one and so on.
You can move unused setups to the left table, they will have no effect there. If the last setup in the right table fails, the “Action if last setup fails” will be executed which you can select at the bottom.
Note: You can add more control by adding conditions (on when it should be executed) to each setup.
Editing text placeholders
Setup text placeholders
A text placeholder will inject text from various sources into your layout in the merge process.
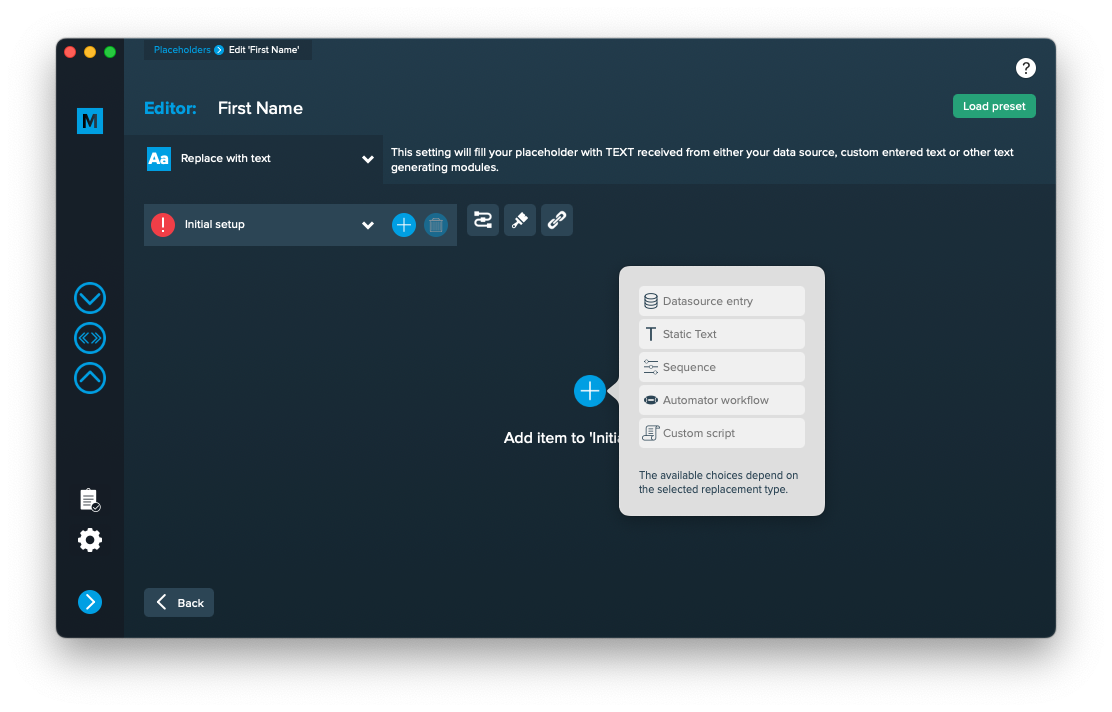
These sources can be one or a combination of:
- Datasource content (Changes for each record)
- Static text (Always the same)
- Sequence (Different types of counting numbers)
- Automator workflow (for editing outside of MyDataMerge – learn more here)
- Custom (java-)script (learn more here)
To add an element, open the placeholder by double clicking it (or click the pen icon), then add an element by clicking the plus icon:
Add the element and the appropriate editor will open (e.g. datasource element):
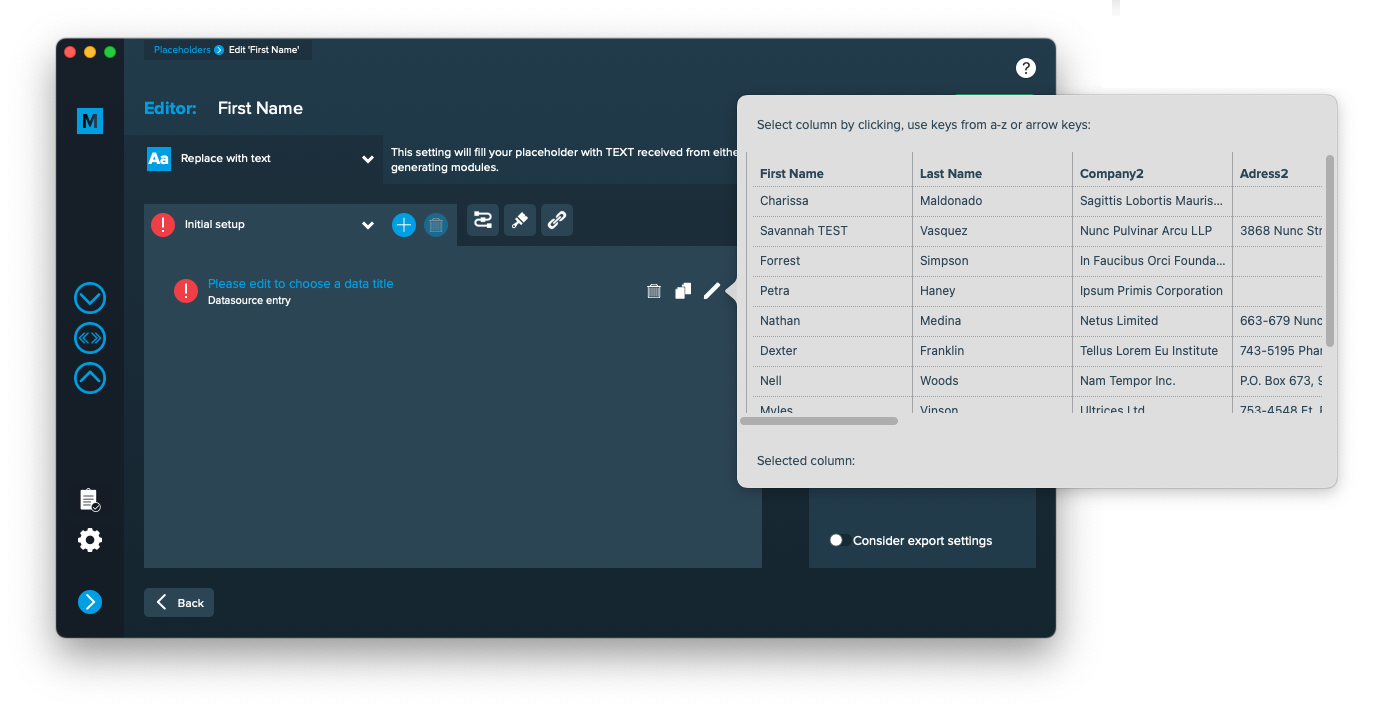 Once you selected or entered the required data, the element becomes valid (green check)

Once every placeholder is valid, you are able to export.
Notes:
- You can combine different elements here by adding them (plus icon above the eye icon) and drag & drop them up or down. The result will always be shown in the preview on the right.
- Additionally every element has some settings (gear icon) which will provide a wide range of tools to transform your data (e.g. strip whitespaces, add space before or after and so on)
3 Export
Filetypes
Export to PNG files
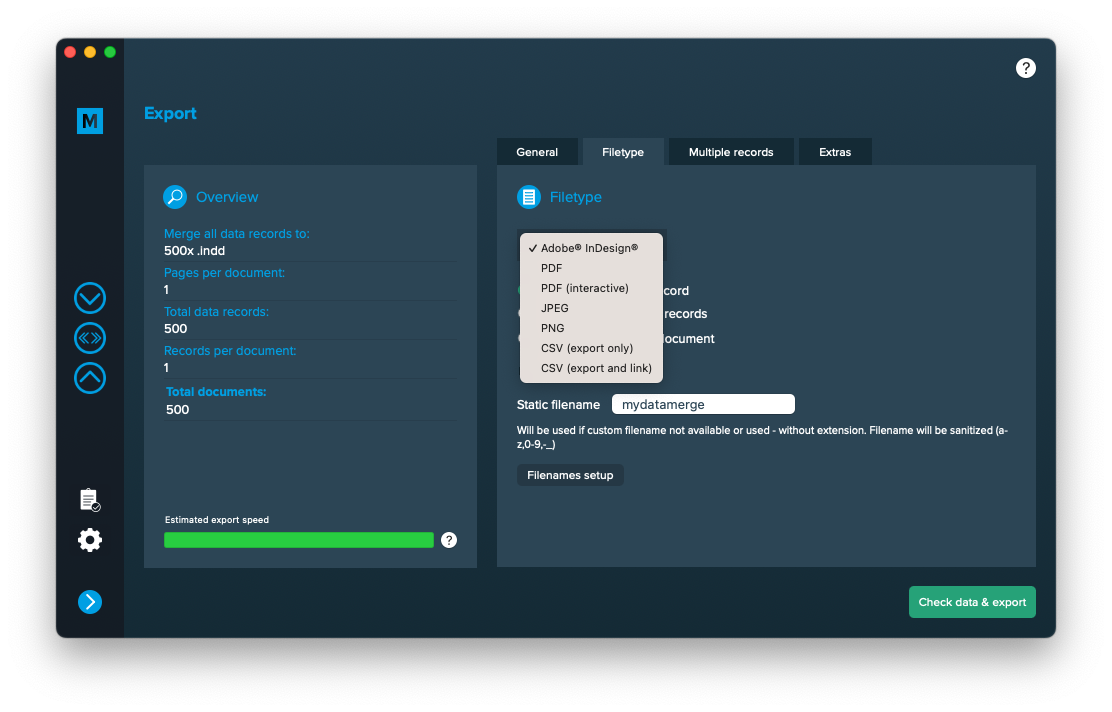
If you want to export to PNG files go to export > filetype and select the preferred filetype from the dropdown.
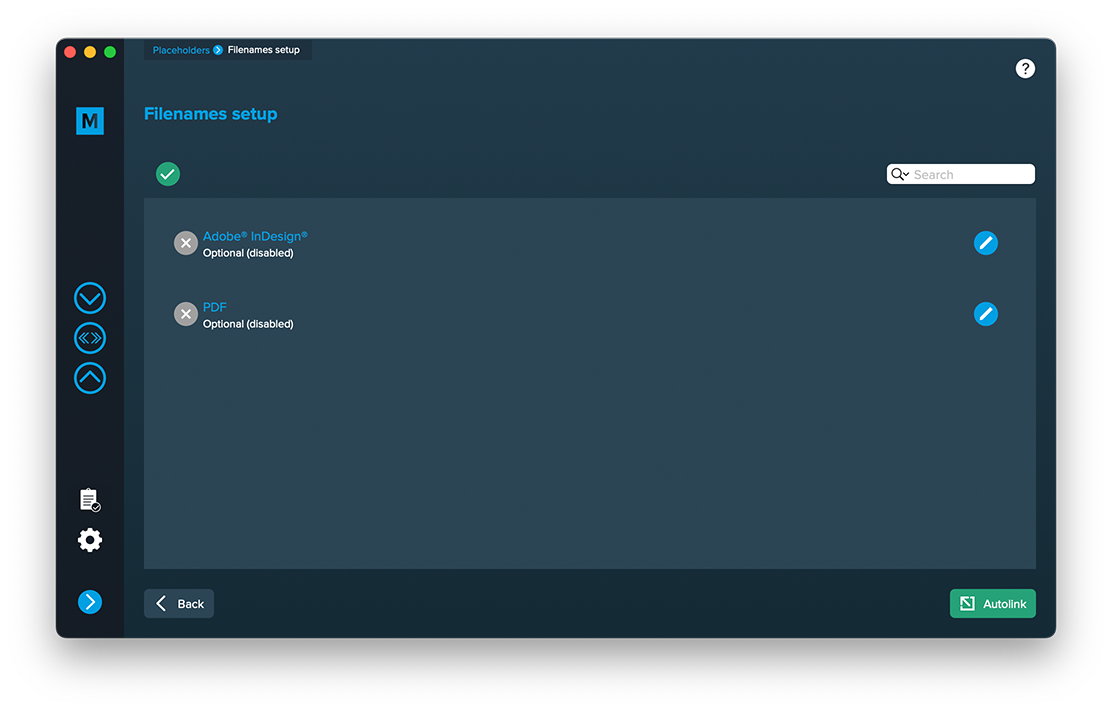
Setup custom filenames
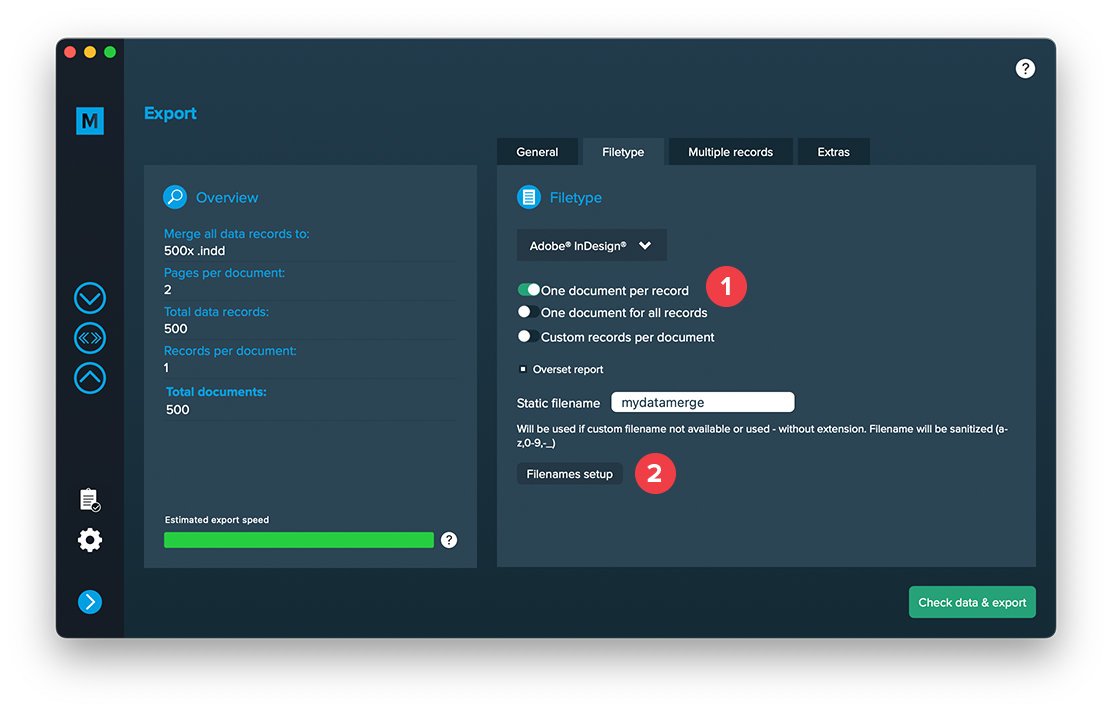
To configure dynamic file names go to Export > Filetype and make sure “One document per record” [1] is activated. Then a button “Filenames setup” [2] appears. Click it to configure your filenames.
If you click the “Filenames setup” button you can then select the filetype to setup custom naming. If you e. g. export to PDF files and keep a copy of your InDesign files you can define both the names for the PDF files and the InDesign files. Double click a row and enable it. Then you can configure it like a placeholder.