1 Layout preparation & import
Add placeholders to your layout
Add image placeholder
Requirements
- The placeholder text must be located in a single text frame (not linked with any other)
- The frame can have any proportions
- You can choose any text you like (a-z, 0-9, _-)
- The placeholder text including tags must be the only content of the text frame (be careful with spaces)
- If you want to use Autolink you can add @ to identify the placeholder as image, e.g. <<@image>> (for using Autolink you also have to make sure that the label of the placeholder and the title of your datasource colum must match (in the example above, the datasource column title must be “image”)
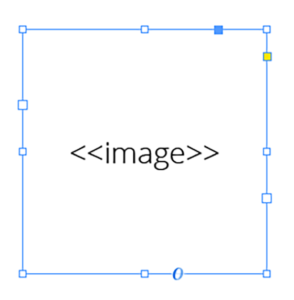
Note: The position/alignment of the text inside the frame is not taken into account. You can control the alignment and fitting in the configuration.
Multiple records
Multiple records (prepared layout)
This is the most effective approach to apply multiple records to one layout (with one or more pages). To tell MyDataMerge where your records should go in the layout you need to create multiple groups of the same instance.
Example – Multiple business cards with front and rear side
You have a business card that you want to have 8 times on a sheet including their rear sides. First of all, layout one business card with all placeholders you need and group it. By grouping it, MyDataMerge knows now that all the placeholders inside the group belong together.
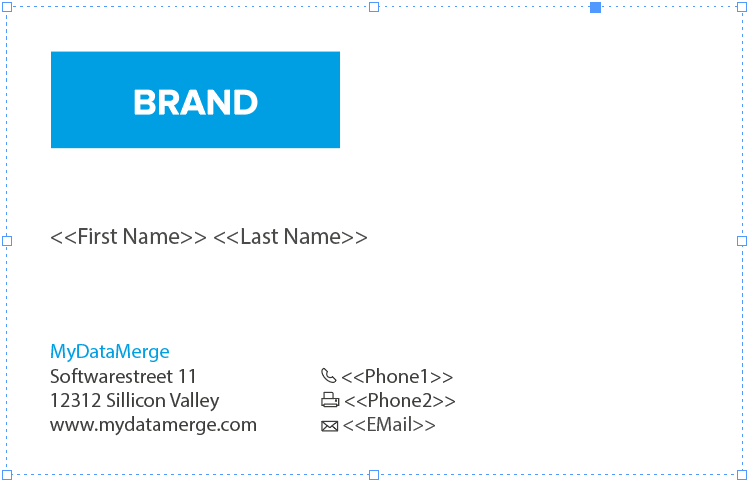
Next, duplicate (or copy/paste) the group to create another business card. Arrange it on your sheet in the order you want the data to be merged. This can be from left to right like in the below example [1 to 4] or right to left, or up to down …
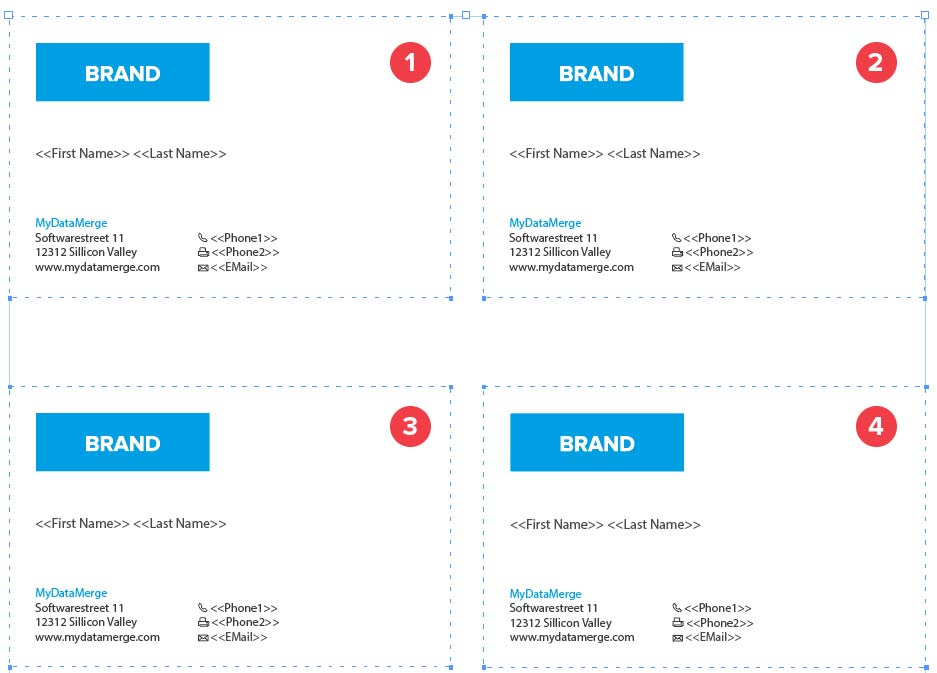
Now on the next page you arrange groups of the rear sides of the business cards, but as the rear side is mirrored you need to start from right to left [1 to 4] with arranging groups:
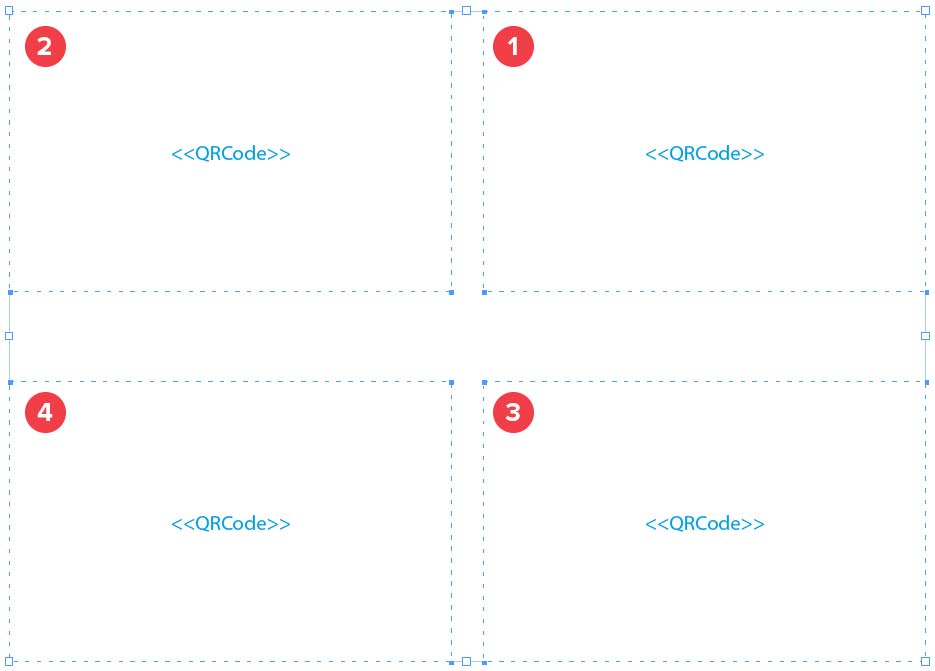
Remember: The groups tell MyDataMerge which placeholders belong together and the order you arrange the copies with represents the order the records are merged.
2 MyDataMerge configuration
Editing image placeholders
Setup image placeholders
An image placeholder will inject images based on file paths from various sources into your layout in the merge process.
These sources can be one or a combination of:
- Datasource content (Changes for each record)
- Static text (Always the same)
- Sequence (Different types of counting numbers)
- Automator workflow (for editing outside of MyDataMerge – learn more here)
- Custom (java-)script (learn more here)
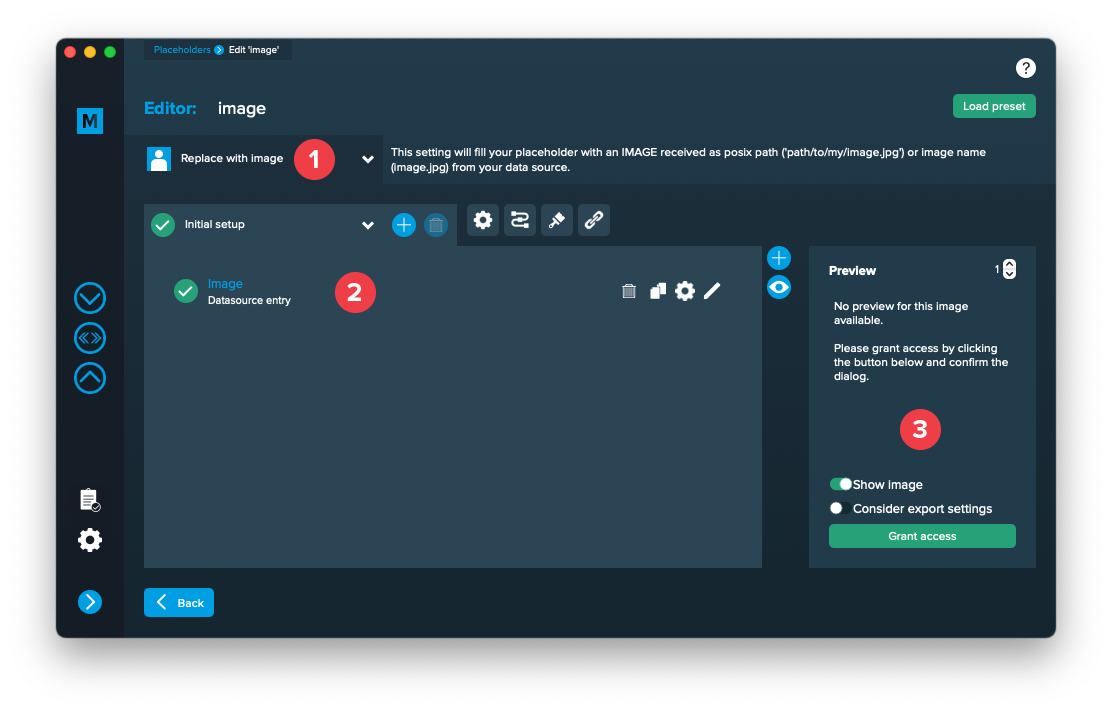
Open the placeholder by double clicking it (or click the pen icon), then the editor will open. First of all, make sure that “Replace with image” is selected [1]. Then add one or more elements to get file paths to your images. In the below example [2] a datasource element is added, where column “Image” is selected (as this column contains paths to the image files). If the element is valid (green check) and a valid image path is given, you will see a preview on the right [3]. If the preview doesn’t appear, you might need to grant access to the image folder for MyDataMerge – click the “Grant access” button in this case. By deactivating the switch “Show image”, MyDataMerge will output the file path in the preview instead.
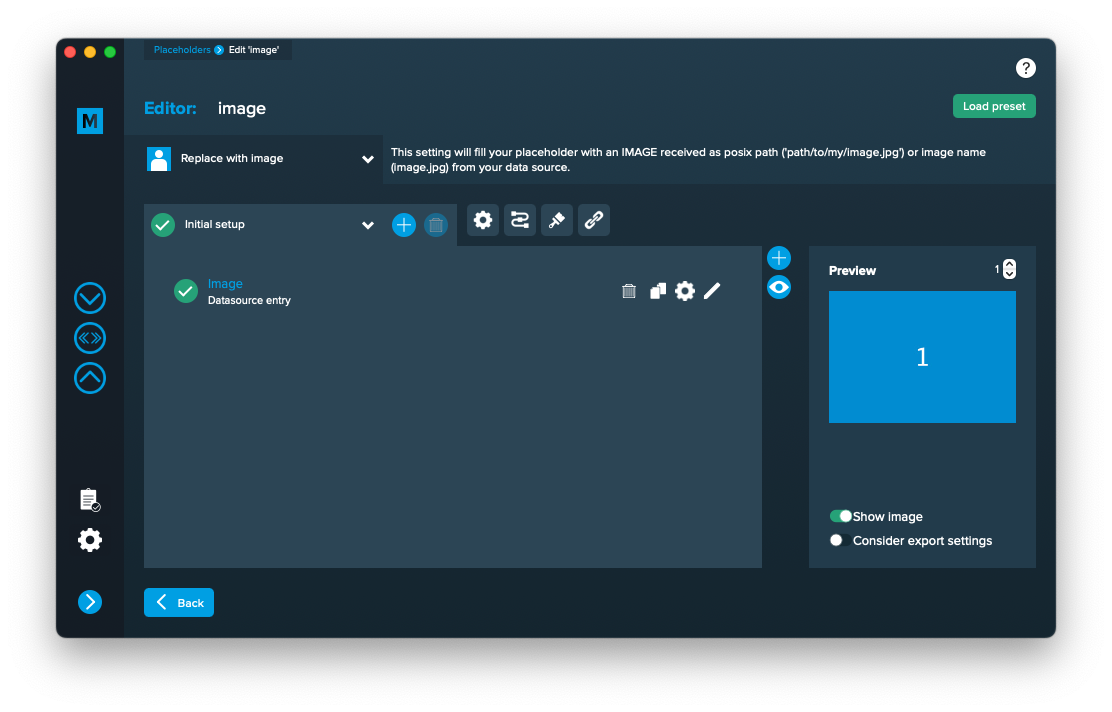
After access is granted, you will see the image appear in the preview on the right:
3 Export
Filetypes
Export to PNG files
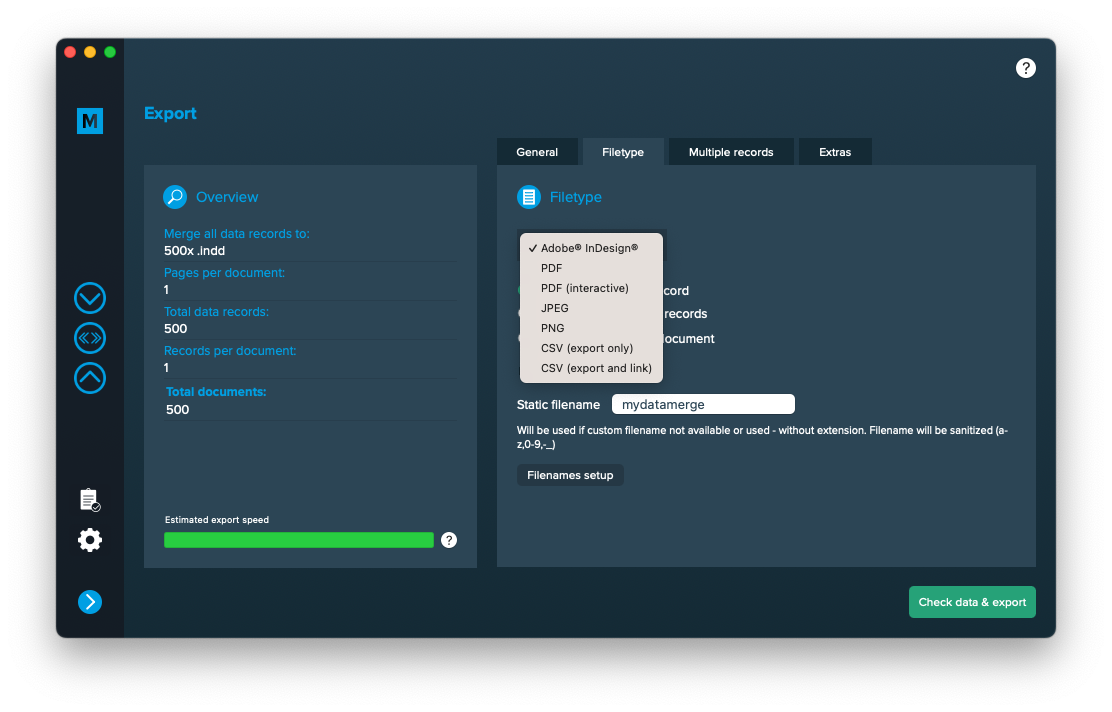
If you want to export to PNG files go to export > filetype and select the preferred filetype from the dropdown.
Use a static filename with counting number
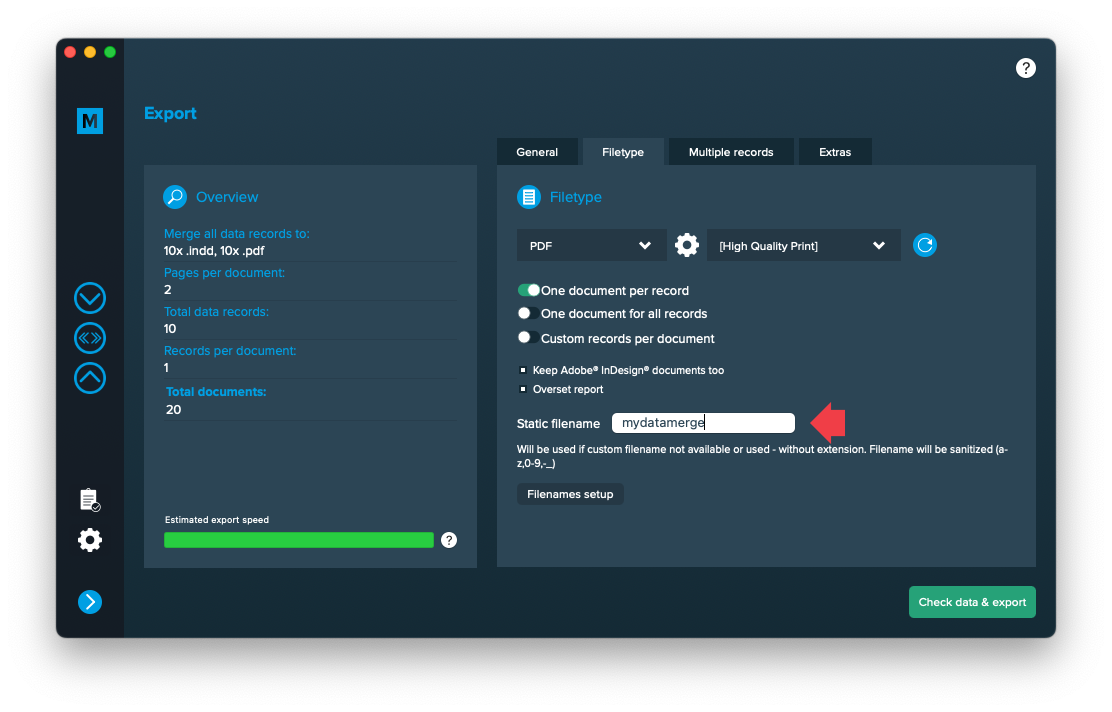
You can set a static filename in Export > Filetype > “Static filename” field.
With static filenames, every file will get the same name and a counting number will be attached. For example if you define static filename to be “mydatamerge” then files will be named like this:
- mydatamerge_1
- mydatamerge_2
- mydatamerge_3
- and so on
Please note that static filenames only allow a-z, 0-9, – and _ characters. Other characters will be removed or replaced.
