1 Export
Filetypes
Export to PDF files
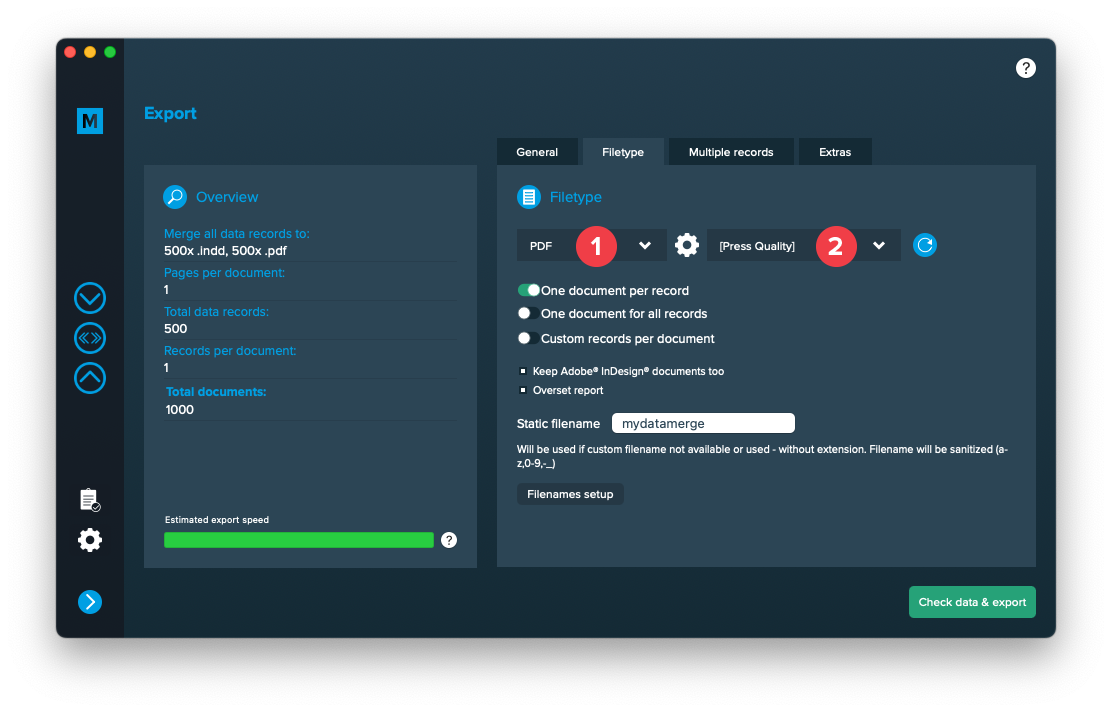
If you want to export to PDF files go to export > filetype and select the preferred filetype from the dropdown [1]. Note that you have to select a PDF preset [2]. They are directly imported form Adobe InDesign and can be updated with the circled arrow icon.
Keep InDesign
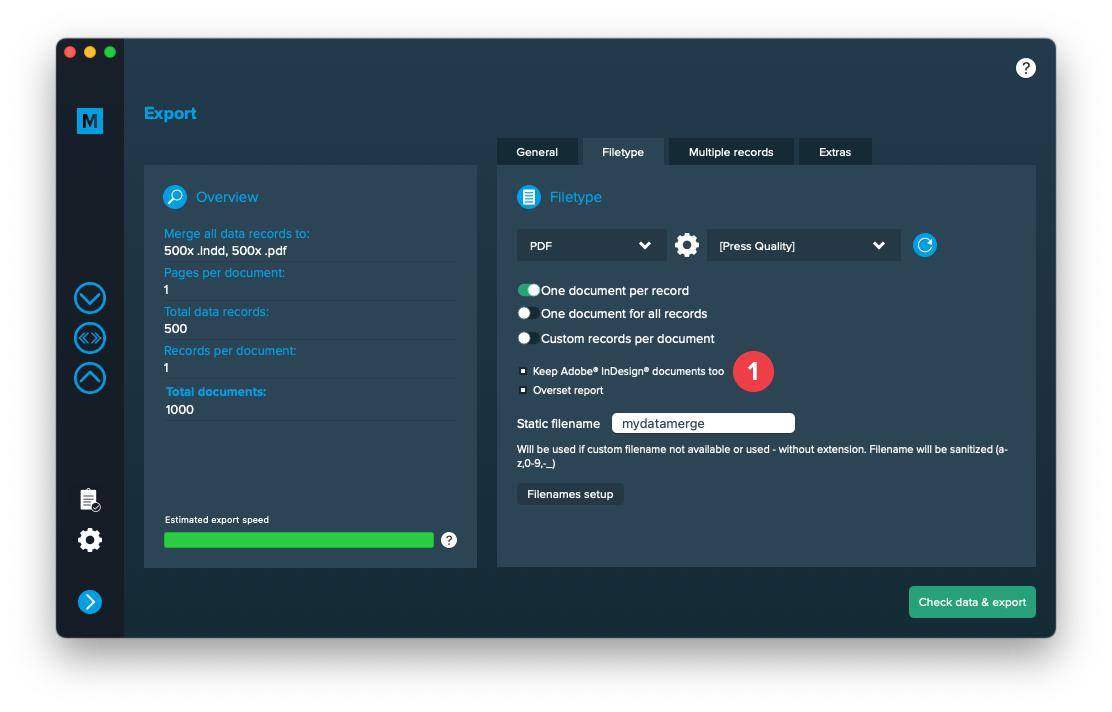
If you have selected another filetype than InDesign for export first, you have the possibility to also save a copy of the InDesign file with the merged content instead of only exporting to the selected filetype. Therefore click “Keep Adobe InDesign documents too” in export > filetype [1]
Setup custom filenames
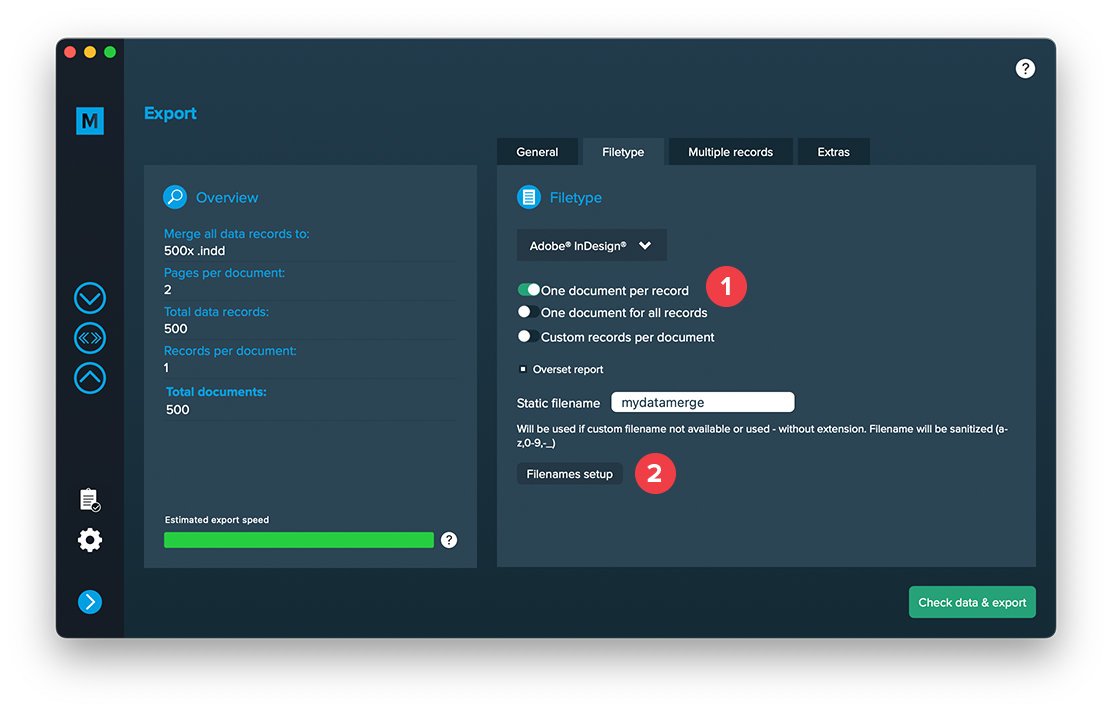
To configure dynamic file names go to Export > Filetype and make sure “One document per record” [1] is activated. Then a button “Filenames setup” [2] appears. Click it to configure your filenames.
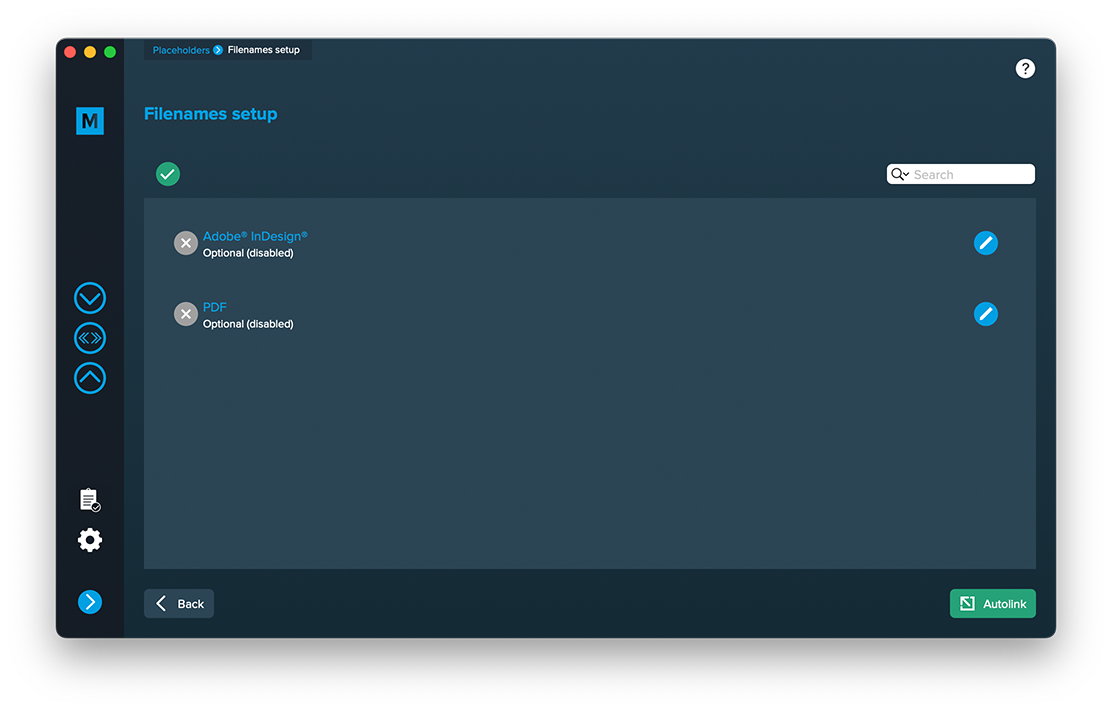
If you click the “Filenames setup” button you can then select the filetype to setup custom naming. If you e. g. export to PDF files and keep a copy of your InDesign files you can define both the names for the PDF files and the InDesign files. Double click a row and enable it. Then you can configure it like a placeholder.
Extras
Setup GREP replacements
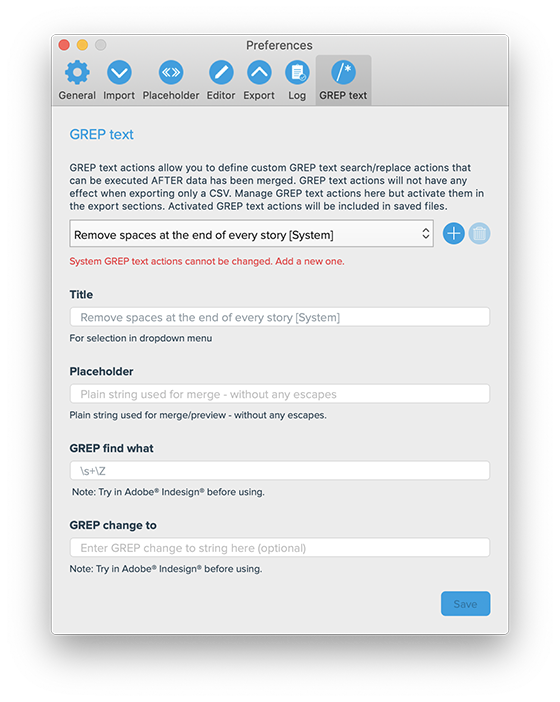
GREP text actions allow you to search and replace specific strings matching custom search patterns with other strings or patterns AFTER the merge process is completed. They are applied to all documents generated.
Go to Export > Extras > GREP text
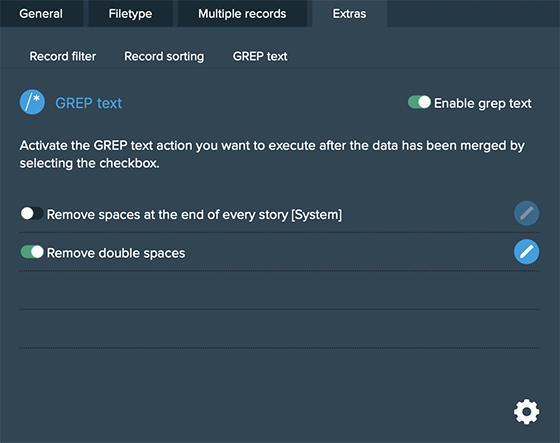
Here you can activate or deactivate your configured GREP text replacements. To edit them click on the pen icon of each row, to add new ones click on the gear icon in the bottom right. This will take you to the preferences where you can add new actions or delete existing ones (Note: Predefined actions cannot be deleted. They are flagged with [System] at the end of the name):
GREP text actions are stored locally on your machine. Only activated actions will be added to project files.