1 Layout preparation & import
Multiple records
Setup layout for inline merge
Inline merge is a powerful tool if you want to merge inside a textframe and take advantage of flowing content. You cannot use this on an existing layout but on an empty textframe (Check requirements). After the merge is done you may copy the whole content of the textframe and insert it into your final layout.
Requirements
- Make sure you only have one page in your document, spreads turned off
- Make sure you only have one unique text frame on that page and nothing else

Prepare placeholders for inline merge
Inline merge text
- Prepare your document like mentioned above in „Setup layout for inline merge“
You can add your placeholder directly into the one unique text frame:
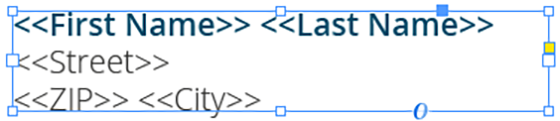
This will repeat this content one after another.
Or you can create a textframe, insert your placeholders there and copy/paste that text frame as anchored object into the one unique text frame:

This gives you more control as the text frame keeps it proportions when its duplicated during the inline merge.
2 MyDataMerge configuration
Editing image placeholders
Modifying Image pathes
Whenever you have complete image paths in your datasource they do not always fit to your local environment (e. g. if you have received the datasource from your client and the full paths only match their environment). In these cases the client often delivers all images in a folder you put somewhere next to the layout.
For local paths you have to crop the clients paths from the datasource and replace them with your local paths. E. g.
/client/path/to/image.jpg
becomes
/your-path/to/image.jpg
Unfortunately you have to redo this everytime the client sends you an updated datasource. But with MyDataMerge you can update the paths on the fly:
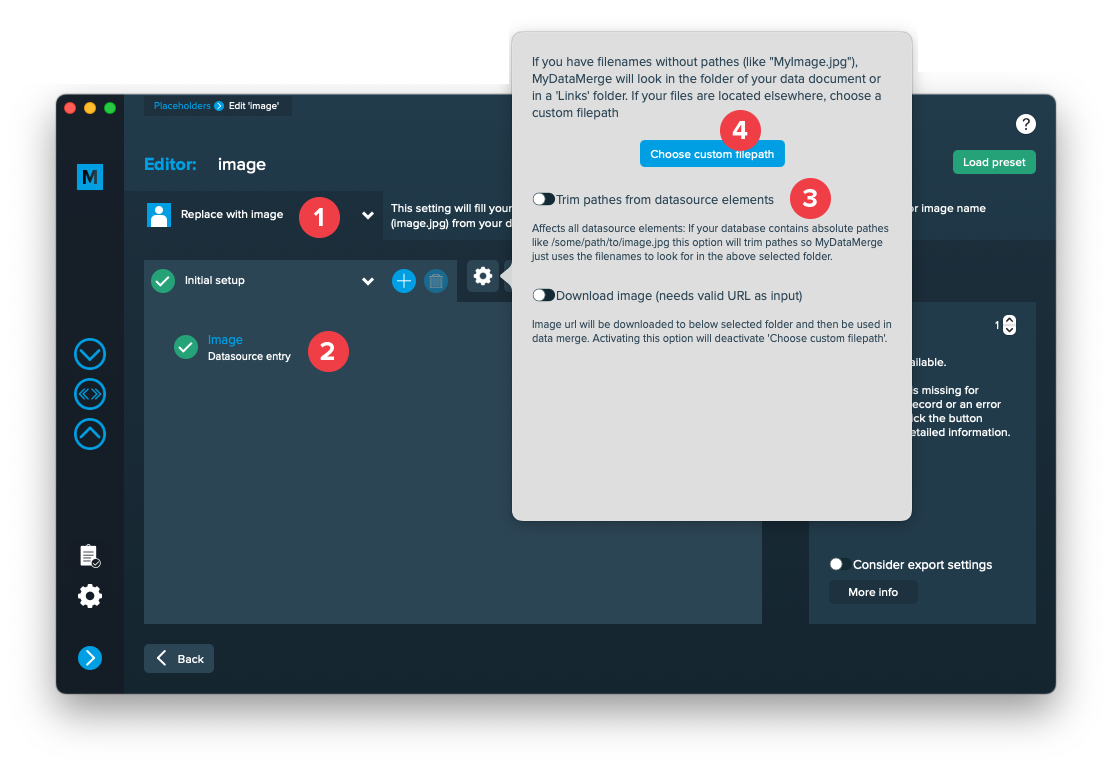
- Make sure your placeholder has the right type selected “Replace with image” [1]
- Add a datasource entry and select the column with the image paths [2]
- Open the settings (gear icon) and activate “Trim pathes from datasource elements” [3]. This will make “/path/to/your/image.pg” to “image.jpg”
- Then choose the folder where the images are located. This will add the new path “/your-path/to/image.jpg” [4]
By now you should see the image in the preview (you might grant read access for MyDataMerge to the selected folder).
3 Export
Filetypes
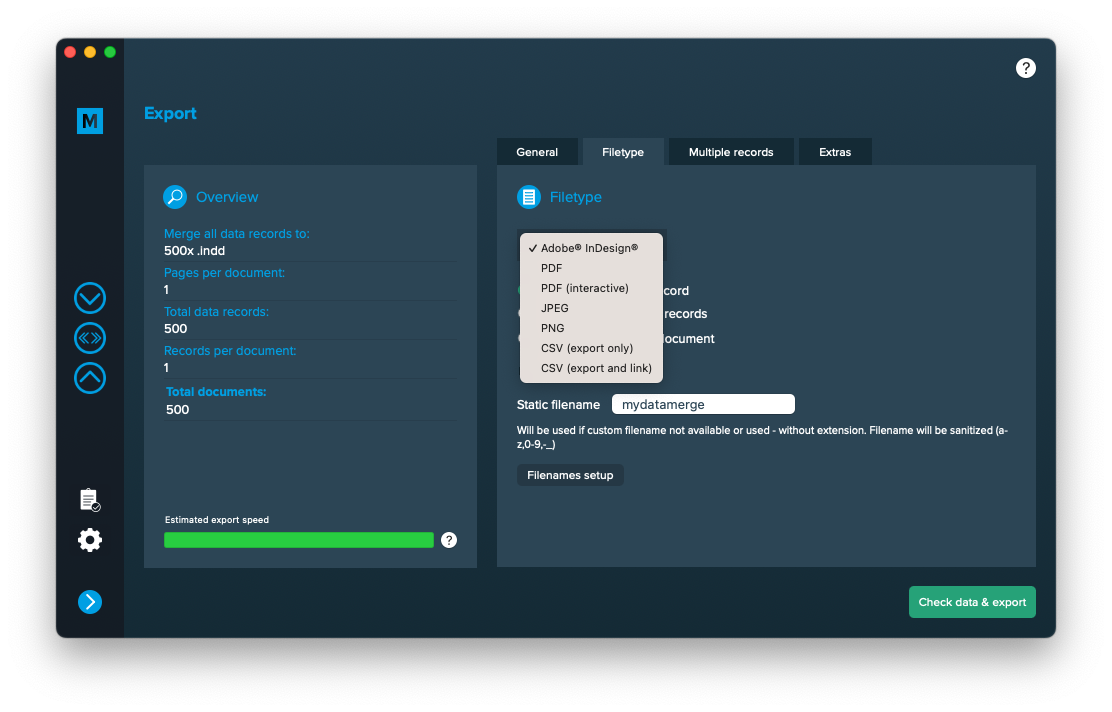
Export to JPEG files
If you want to export to JPEG files go to export > filetype and select the preferred filetype from the dropdown.
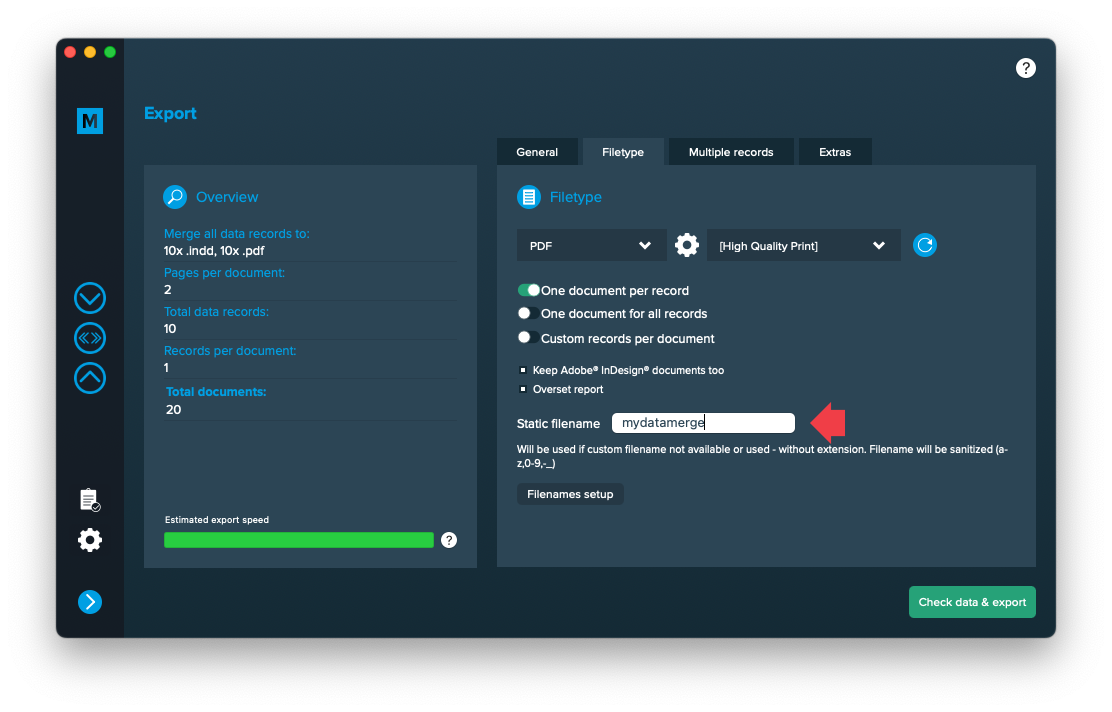
Use a static filename with counting number
You can set a static filename in Export > Filetype > “Static filename” field.
With static filenames, every file will get the same name and a counting number will be attached. For example if you define static filename to be “mydatamerge” then files will be named like this:
- mydatamerge_1
- mydatamerge_2
- mydatamerge_3
- and so on
Please note that static filenames only allow a-z, 0-9, – and _ characters. Other characters will be removed or replaced.
Multiple records
Configure inline merge
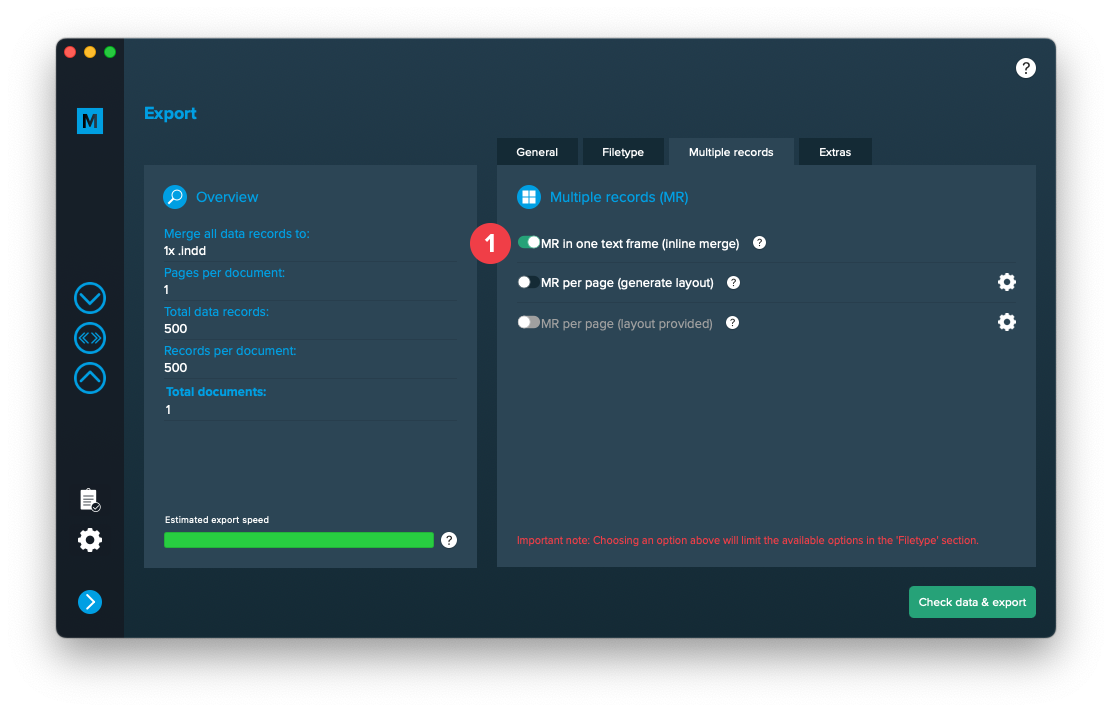
Go to Export > Multiple Records and activate “MR in one text frame (inline merge)” [1]. If you cannot select it, please check again if your layout meets the requirements (in step “Setup layout for inline merge”).
Extras
Setup GREP replacements
GREP text actions allow you to search and replace specific strings matching custom search patterns with other strings or patterns AFTER the merge process is completed. They are applied to all documents generated.
Go to Export > Extras > GREP text
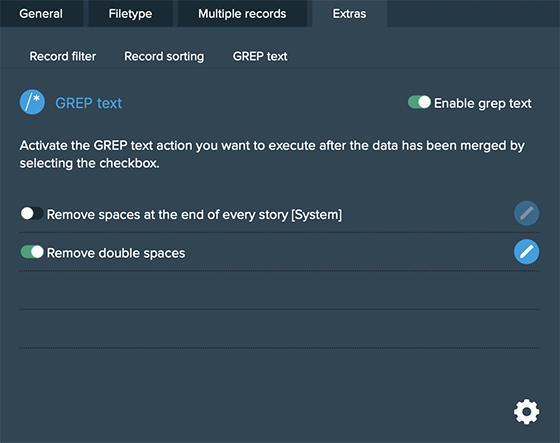
Here you can activate or deactivate your configured GREP text replacements. To edit them click on the pen icon of each row, to add new ones click on the gear icon in the bottom right. This will take you to the preferences where you can add new actions or delete existing ones (Note: Predefined actions cannot be deleted. They are flagged with [System] at the end of the name):
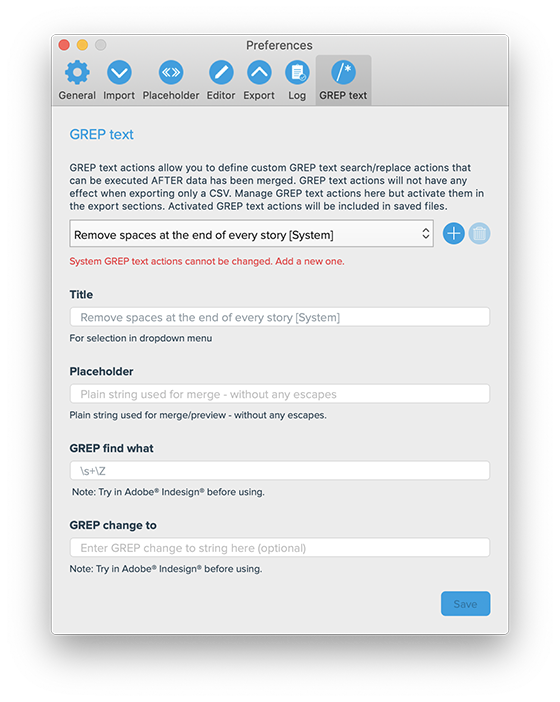
GREP text actions are stored locally on your machine. Only activated actions will be added to project files.