1 MyDataMerge configuration
Editing image placeholders
Modifying Image pathes
Whenever you have complete image paths in your datasource they do not always fit to your local environment (e. g. if you have received the datasource from your client and the full paths only match their environment). In these cases the client often delivers all images in a folder you put somewhere next to the layout.
For local paths you have to crop the clients paths from the datasource and replace them with your local paths. E. g.
/client/path/to/image.jpg
becomes
/your-path/to/image.jpg
Unfortunately you have to redo this everytime the client sends you an updated datasource. But with MyDataMerge you can update the paths on the fly:
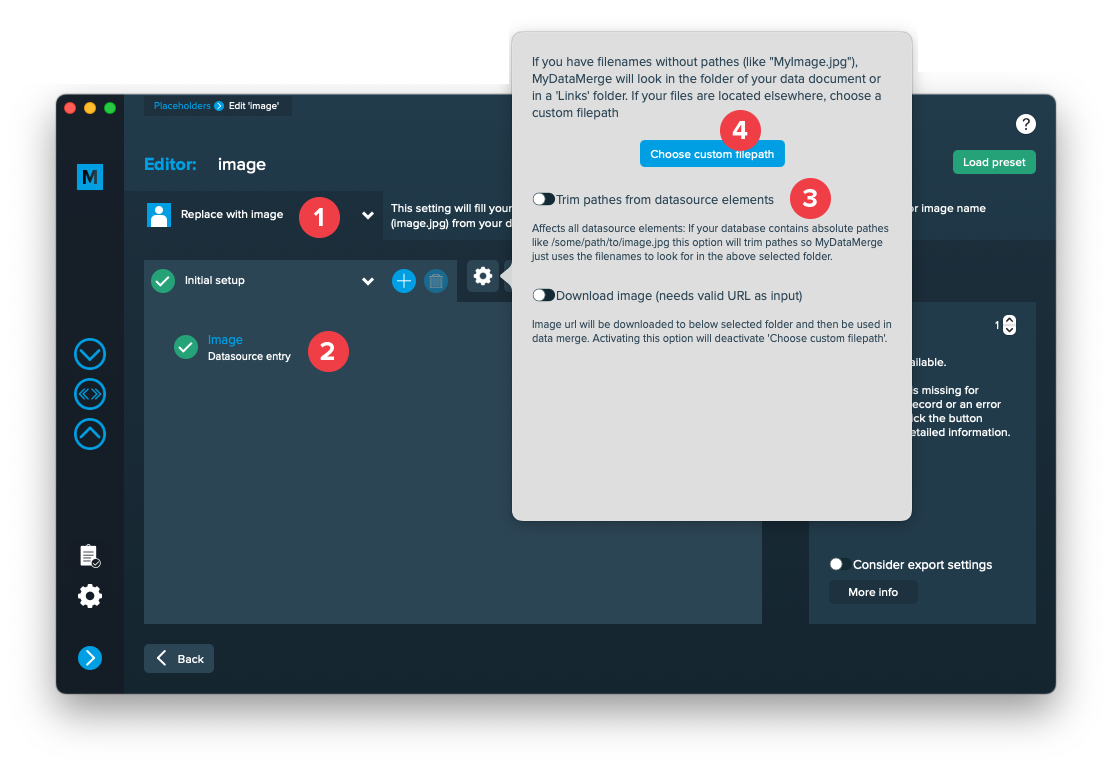
- Make sure your placeholder has the right type selected “Replace with image” [1]
- Add a datasource entry and select the column with the image paths [2]
- Open the settings (gear icon) and activate “Trim pathes from datasource elements” [3]. This will make “/path/to/your/image.pg” to “image.jpg”
- Then choose the folder where the images are located. This will add the new path “/your-path/to/image.jpg” [4]
By now you should see the image in the preview (you might grant read access for MyDataMerge to the selected folder).
2 Export
Filetypes
Export to JPEG files
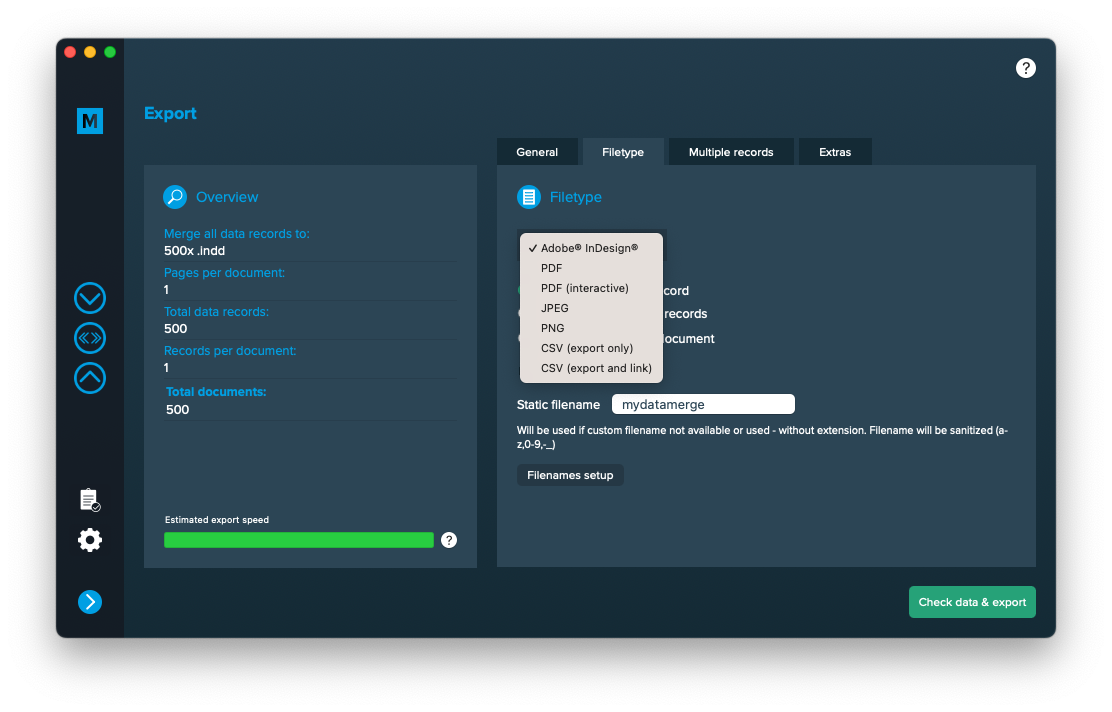
If you want to export to JPEG files go to export > filetype and select the preferred filetype from the dropdown.
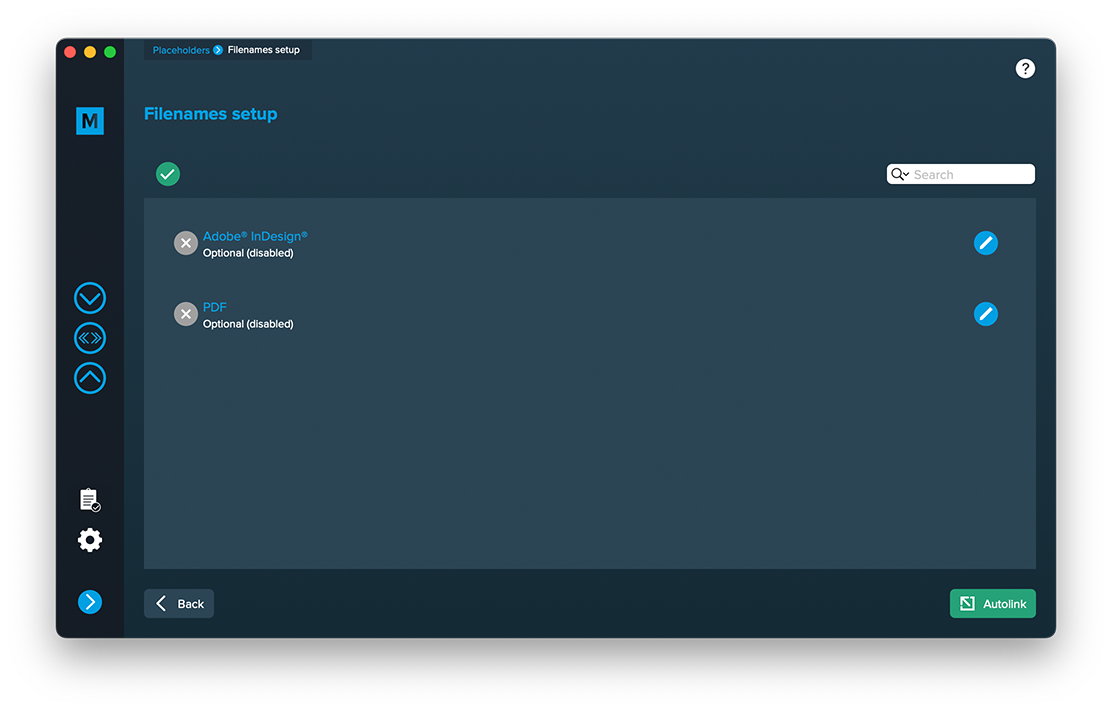
Setup custom filenames
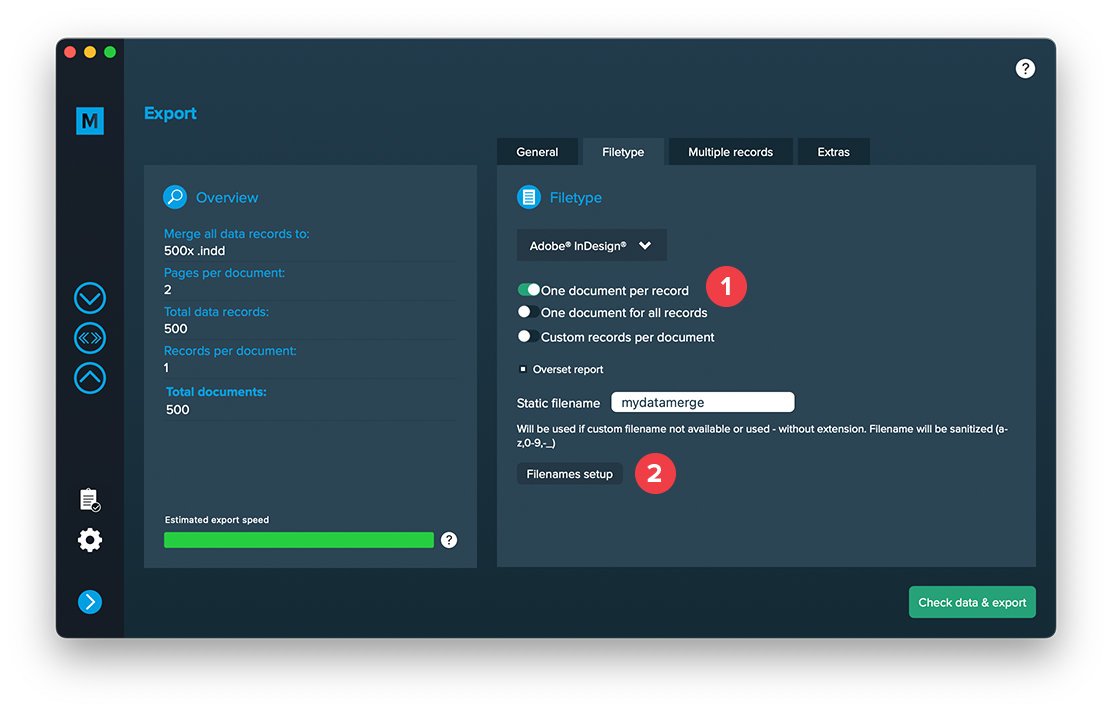
To configure dynamic file names go to Export > Filetype and make sure “One document per record” [1] is activated. Then a button “Filenames setup” [2] appears. Click it to configure your filenames.
If you click the “Filenames setup” button you can then select the filetype to setup custom naming. If you e. g. export to PDF files and keep a copy of your InDesign files you can define both the names for the PDF files and the InDesign files. Double click a row and enable it. Then you can configure it like a placeholder.